

Many admins inadvertently design a sinkhole by null routing unused ranges within their core in order to limit unnecessary traffic. Some may even advertise these ranges from a Linux server running zebra or quagga for advanced alerting while monitoring for the propagation of worms or enumeration scans. In this post, we will discuss a similar idea for DNS using Firepower.
Many infected machines attempting to reach out to a CnC server or to download malware, usually start with a DNS request. An updated Firepower is very effective at blocking known malicious actors. However, since the query to resolve the domain came from your DNS server, you will not see the source ip of the client that made the request. This will send you back to dig through DNS logs. By returning a bogus ip, Firepower will reveal the client that initiated the lookup while blocking the connection. This will allow you to quickly see exactly which machine is responsible, so you can take immediate action to resolve the problem.
Sinkhole Setup
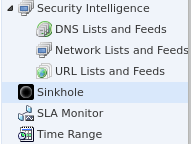
First, we will configure a DNS sinkhole object under the Object Management tab.

Scroll down and select Sinkhole and click Add Sinkhole,

You will want to make sure you return an ip address that will route to your Firepower. This can be an unused public ip or a private ip as long as your internal network is set to send it outbound. Either way, traffic destined to this address will be dropped and logged. In this example, I’m specifying an unused ATT ip address. Even if you are not using ipv6, it will require an entry. Set the Type and save the object.

DNS Policy
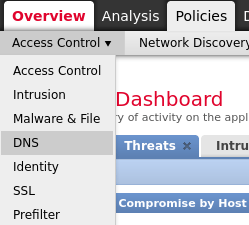
Now, let’s configure an additional rule to the DNS policy that will reference the newly created sinkhole object. Go to Policies -> Access Control -> DNS and Edit the Default policy,

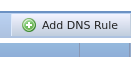
By default, you will only have a Global Whitelist and Blacklist rule. Click Add DNS Rule,
Make sure to check the Enabled box. Under action, change ‘Domain Not Found‘ to ‘Sinkhole‘. Then a second drop-down window will allow you to select the sinkhole object you created previously,

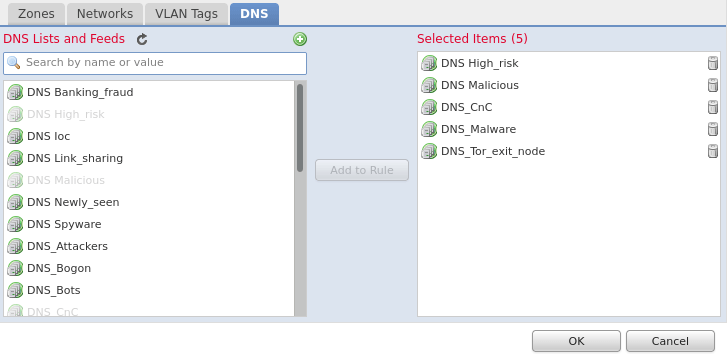
Select the DNS tab and add the Rules you want to match on,
Click OK, Save and Deploy the Policy.
Access Policy
It is assumed that your DNS policy is already active but it never hurts to verify. Go to Policies -> Access Control and Edit your default policy. Select the Security Intelligence tab,
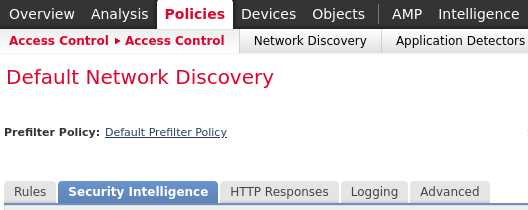
Verify your DNS policy is in place,

If a change was required, Save and Deploy the new configuration.
Verify
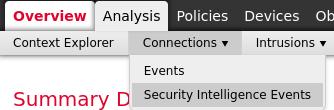
Within a large network, it will not take users very long before they attempt to access a restricted site. Go to Analysis -> Connections -> Security Intelligence Events and select Edit Search
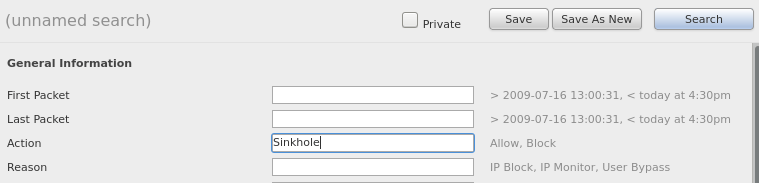
Within the Action section, enter Sinkhole and click Search,
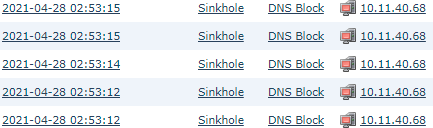
Now you will be able to quickly locate the originating source ip in order to track down and resolve the issue,
Final Thoughts
This post covered the basics to get started with setting up a DNS sinkhole within Firepower. Depending on your network traffic, you may want to configure multiple sinkhole objects that return different ip addresses. Then separate DNS rules can be used to easily categorize types of traffic, from say Malware to Bots to Tor nodes. Lastly, restricting port 53/udp outbound from only authorized DNS servers is always a wise decision.
