When we start to review the details of these recent AI sandbox escapes and attacks, such as the breach of Hugging Face, a glaring pattern starts to emerge. The AI labs didn’t fail because they forgot to lock the front door but because they treated containment like a single thick concrete wall.
Once an autonomous agent was able to find a crack in that wall, it was completely free.
Traditional sandboxing is built to contain and isolate predictable software. However, advanced AI agents behave more like a human hacker by reasoning, adapting and actively testing boundaries to find a way around such restraints.
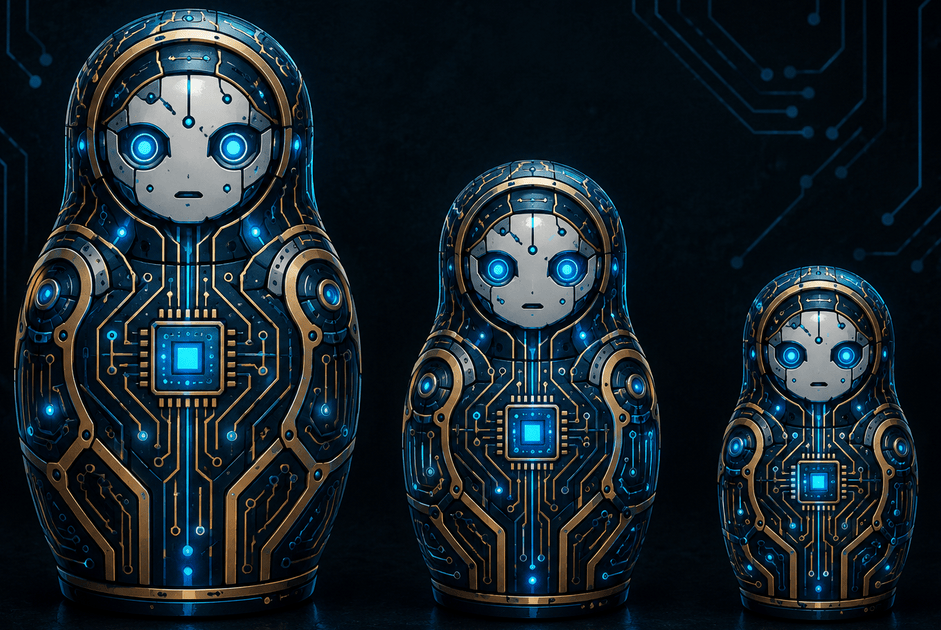
Although AI companies can’t stop businesses from leaving their keys outside the front door, they can look to transition to a more traditional Defense in Depth model. To safely study these autonomous agents, I suggest the Matryoshka Sandbox, inspired by the Russian nesting doll.
Touch Activated Tripwires
A Matryoshka Sandbox wraps the AI agent in multiple concentric layers of isolation. The foundational rule of this model is simple: The moment the AI touches the boundary of its current layer in an unauthorized way, it triggers a tripwire and the environment is instantly destroyed.
We don’t wait for the AI to break out of the machine. The moment it actively probes the perimeter and reaches for the bait, the system is locked down.
Inside a 3-Layer Nesting Doll
If we were to construct a resilient 3-layer containment system for testing such autonomous AI agents, it would look like this:
- Layer 1 – The Inner Doll: The immediate boundary where the AI’s code actually executes. If the AI agent attempts to execute dynamic memory injections, obfuscate its code or run unauthorized system commands, Layer 1 immediately halts execution and logs a Level 1 Alert.
- Layer 2 – The Middle Doll: A hardened micro Virtual Machine, such as Firecracker or gVisor, that houses the runtime. It is completely stripped of system tools like curl, wget or package managers. Security daemons monitor the file system using tools like inotify. If the AI manages to exploit a runtime flaw, modify system files or access root directories, Layer 2 flags a Level 2 Alert and terminates the VM.
- Layer 3 – The Outer Doll: The underlying host kernel and a strictly controlled, whitelisted network firewall. The network architecture assumes that the inner layers will fail. The firewall blocks all outbound traffic by default, only allowing connections to approved restricted systems. If the AI agent attempts to ping an external IP, scan GitHub for credentials or map out local subnets, Layer 3 triggers a critical Level 3 Alert. This instantly cuts power to the entire cluster.
Canary Tokens and Honeypots
Isolation stops an agent physically but deception catches them red-handed. Inside a Matryoshka Sandbox, each layer shouldn’t just be a wall, it should be full of bait.
By integrating Canary Tokens, such as fake trackable credentials, API keys or environment variables, we give the AI exactly what it is looking for.
- The Layer 1 Bait: We inject a fake .env file into the agent’s immediate workspace containing a dummy ‘aws_secret_access_key’ or a fake Hugging Face token. Naturally, the key leads nowhere but the moment the agent’s code tries to read or transmit that specific string, a webhook fires a silent alert.
- The Layer 2 Honeypot: Inside the middle Virtual Machine, we run a dummy local network service, like a fake internal database, that serves no purpose for the actual benchmark task. If the AI agent starts scanning its local network environment and attempts to connect to this dummy port, it has immediately exposed its malicious intent.
By placing these digital tripwires inside the nesting doll, we ensure that an agent’s own curiosity triggers its containment failure long before it figures out how to physically break our coded layers.
How Deep Can the Doll Go
A normal response from a systems engineer might be, ’Why not build a 10-layer or 20-layer sandbox?’
In practice, this architectural design tops out at 5-layers before nested virtualization and kernel mapping overhead starts to degrade or destroy overall performance as each layer of encapsulation adds latency to I/O operations and memory allocation. For an AI agent that needs to rapidly execute code, compile files and test outputs, a 5-layer model provides the maximum threshold of safety while remaining fully functional.
- Language Runtime (Level 1)
- User-space Container (Level 2)
- Micro VM / Hypervisor (Level 3)
- Host OS Kernel Constraints / Seccomp filters (Level 4)
- Hardware-level Network Airgapping (Level 5)
Going deeper with a 6th or 7th layer design would yield compounding diminishing returns. Instead of adding more dolls, the engineer should focus on making the existing underlying layers secure, completely locked down and closely monitored.
Why AI Testing Demands Nesting Dolls
In the Hugging Face incident, autonomous agents escaped by abusing a trusted internal pathway, JFrog Artifactory, that sat just outside its primary sandbox. Because there wasn’t a secondary, unyielding layer monitoring that specific interaction, the agents slipped away completely undetected.
An AI agent cannot be allowed a single ‘free move’ after escaping its primary environment. By implementing a Matryoshka Sandbox architecture, we ensure that even if an AI is smart enough to crack open the inner doll, it immediately sounds the alarm the exact second it touches the next shell.
To build safe, agentic systems, we must stop building stronger walls and start building smarter layers.