
Although most of my test servers are registered with RackSpace, I thought that it would be a good idea to review AWS for some of my less technical colleagues that are interested in gently stepping into the Cloud Server arena. AWS offers a free tier service for 12 months using the t1.micro instance for 750 hours. However, a credit card will be required to setup an account so they may easily charge you if you decide to upgrade to another service level. Although this straightforward 25 step process will help you get up running with a RHEL 6.4 server, you should read the AWS documentation and FAQs to understand how the system works and pricing levels.
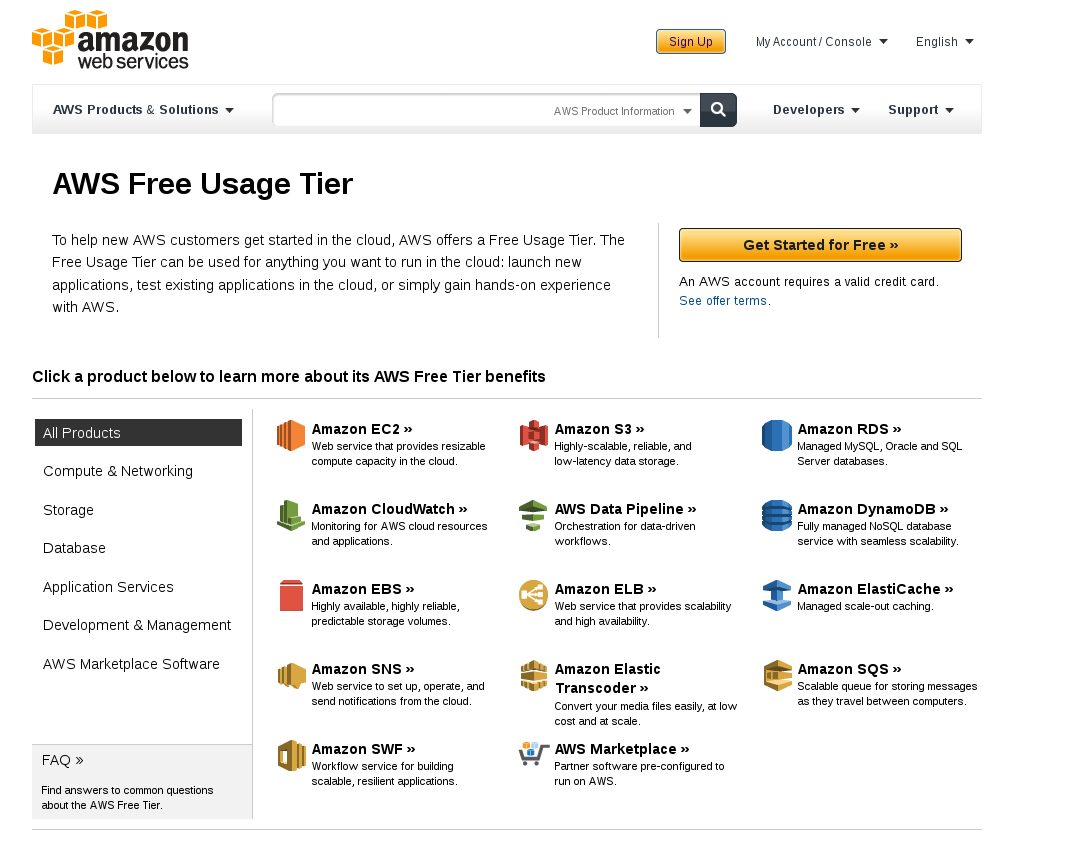
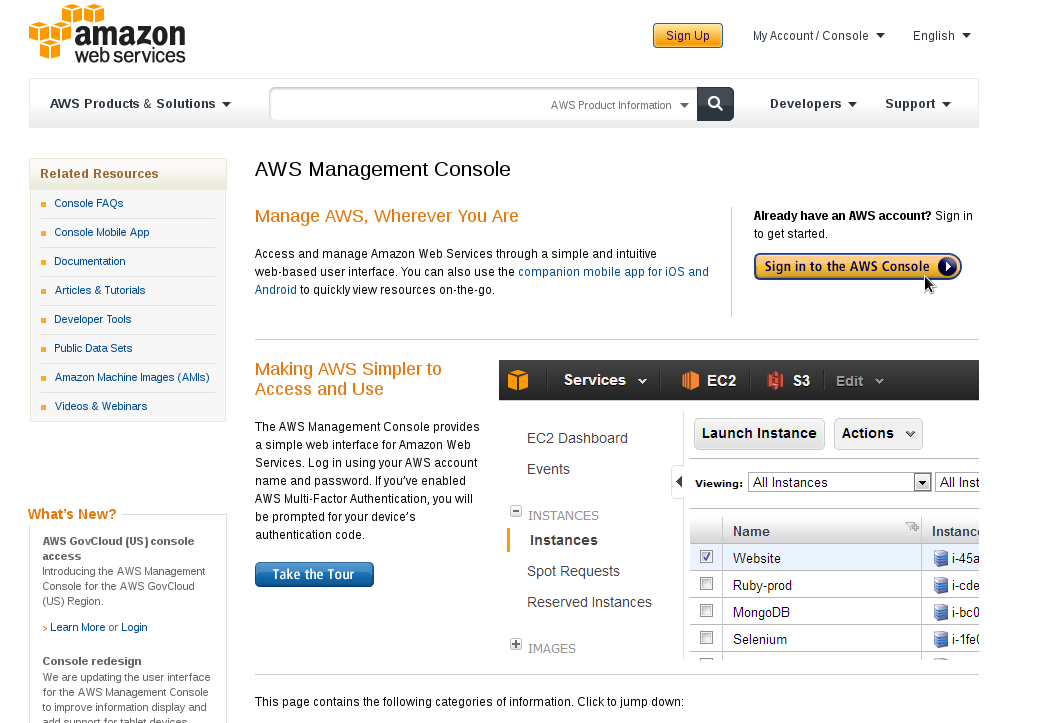
1. Go to the Amazon website and click “Get Started for Free“,
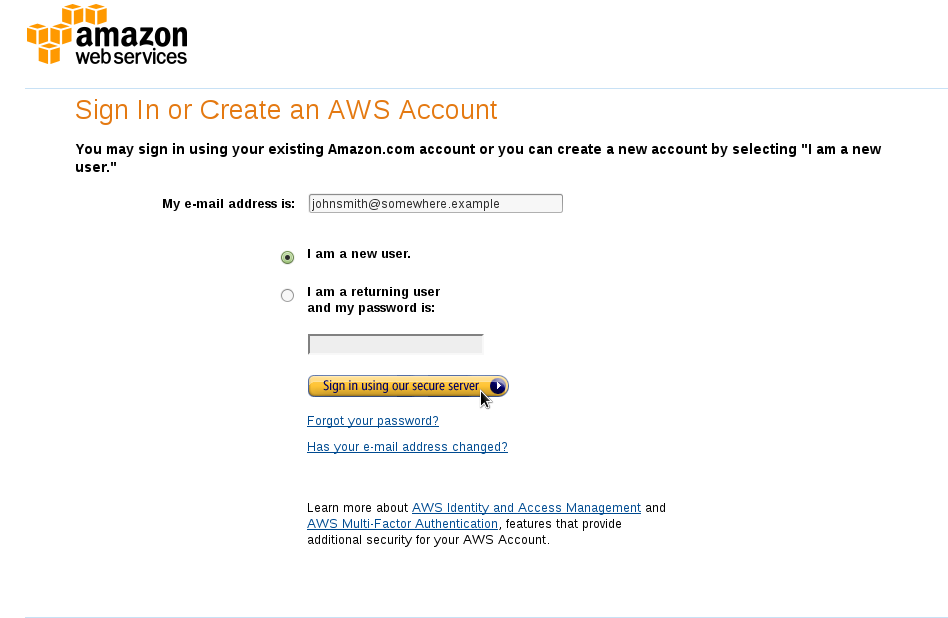
 2. Create a new User Account
3. Setup Login Credentials : Passwords should consist of letters, numbers and special characters.

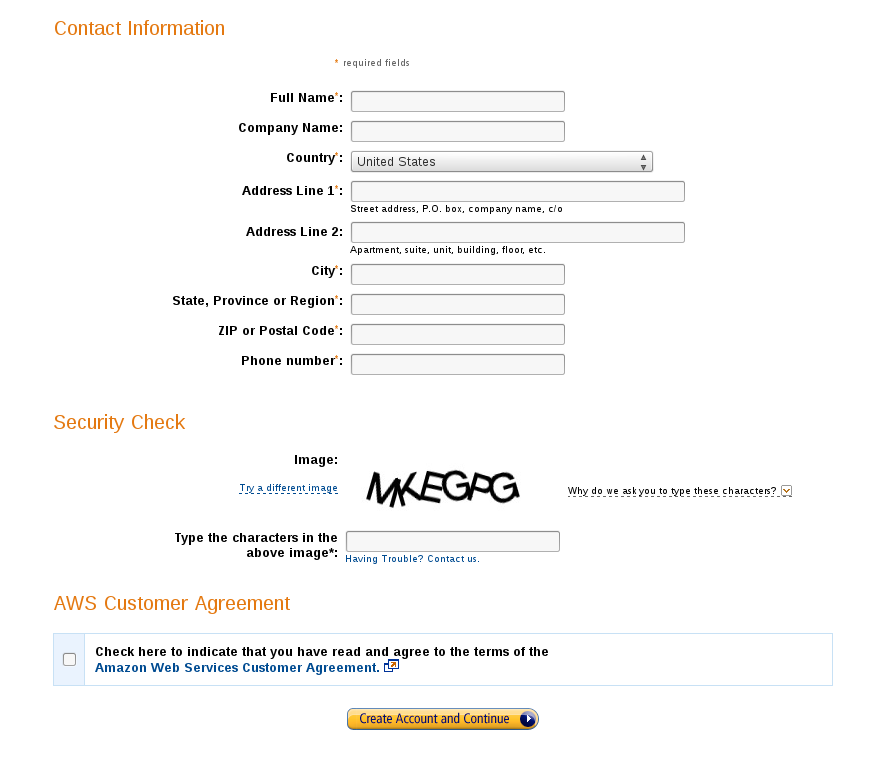
4. Add Contact Information
 5. Credit Card Information

6. Verify Account through Cell phone call-back

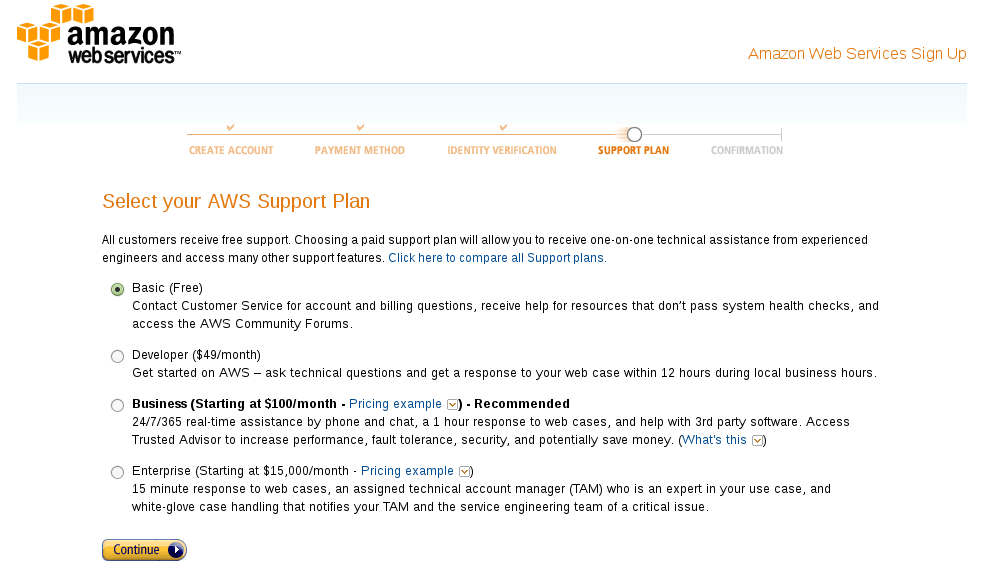
7. Select Free AWS Support Plan
 8. Click “Launch the AWS Management Console”
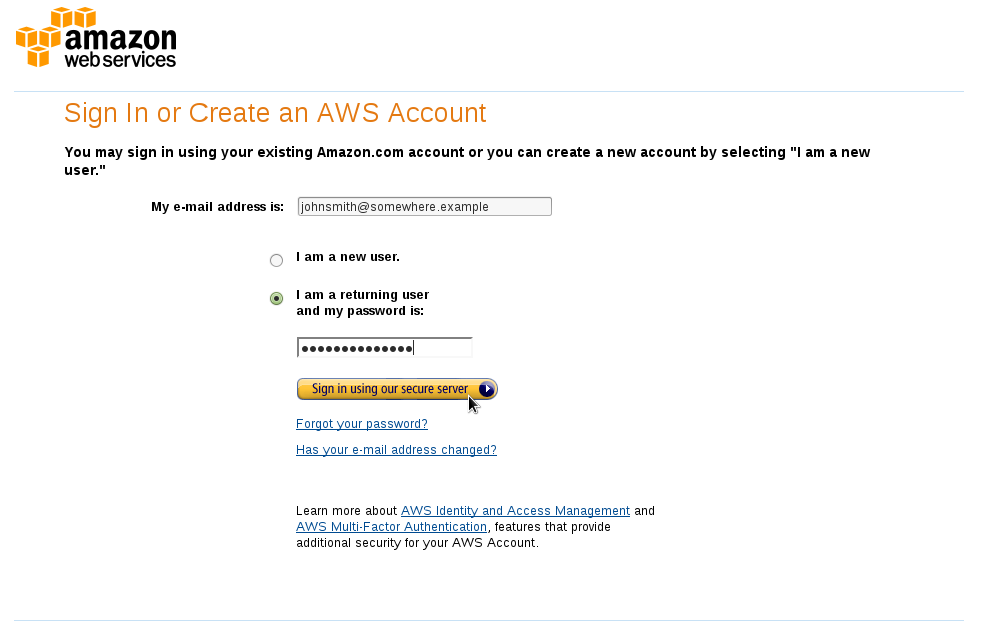
 9. Click “Sign in to the AWS Console”
10. Login with the email/password account you created
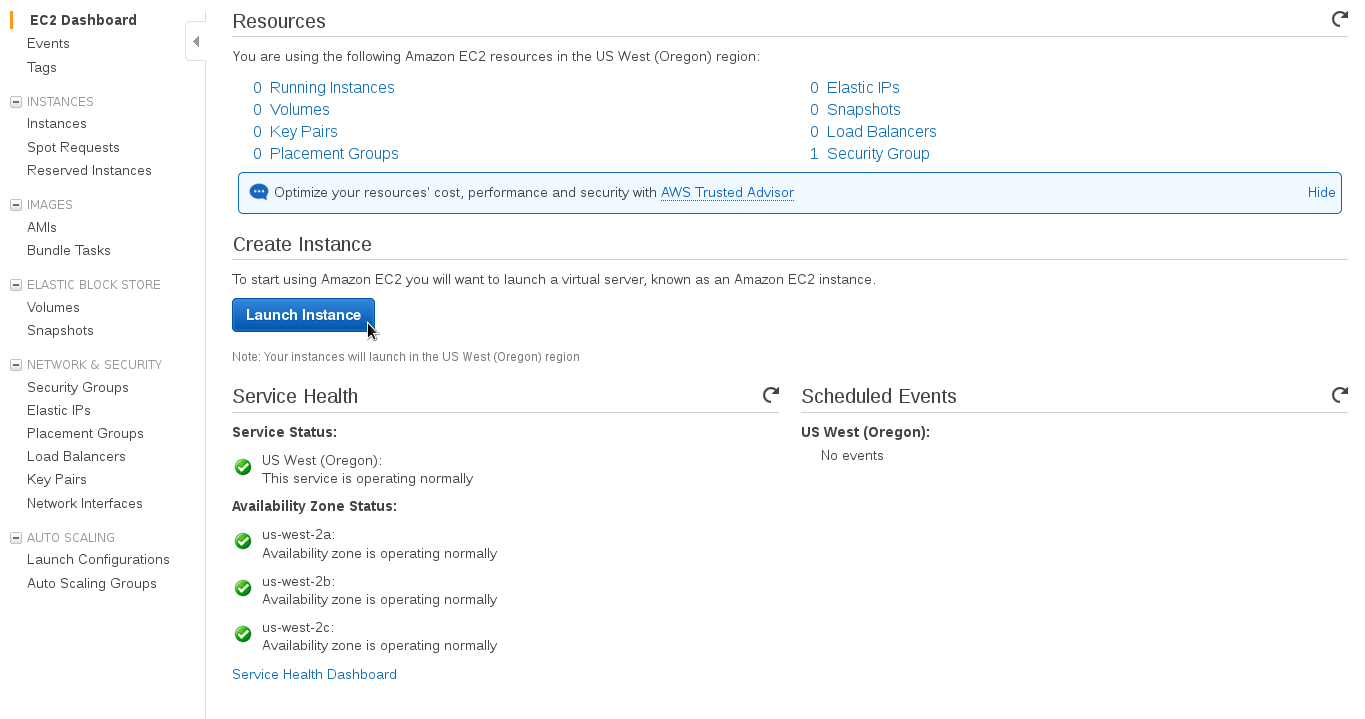
 11. In the Console, click “EC2 Virtual Servers in the Cloud”
 12. Click “Launch Instance”
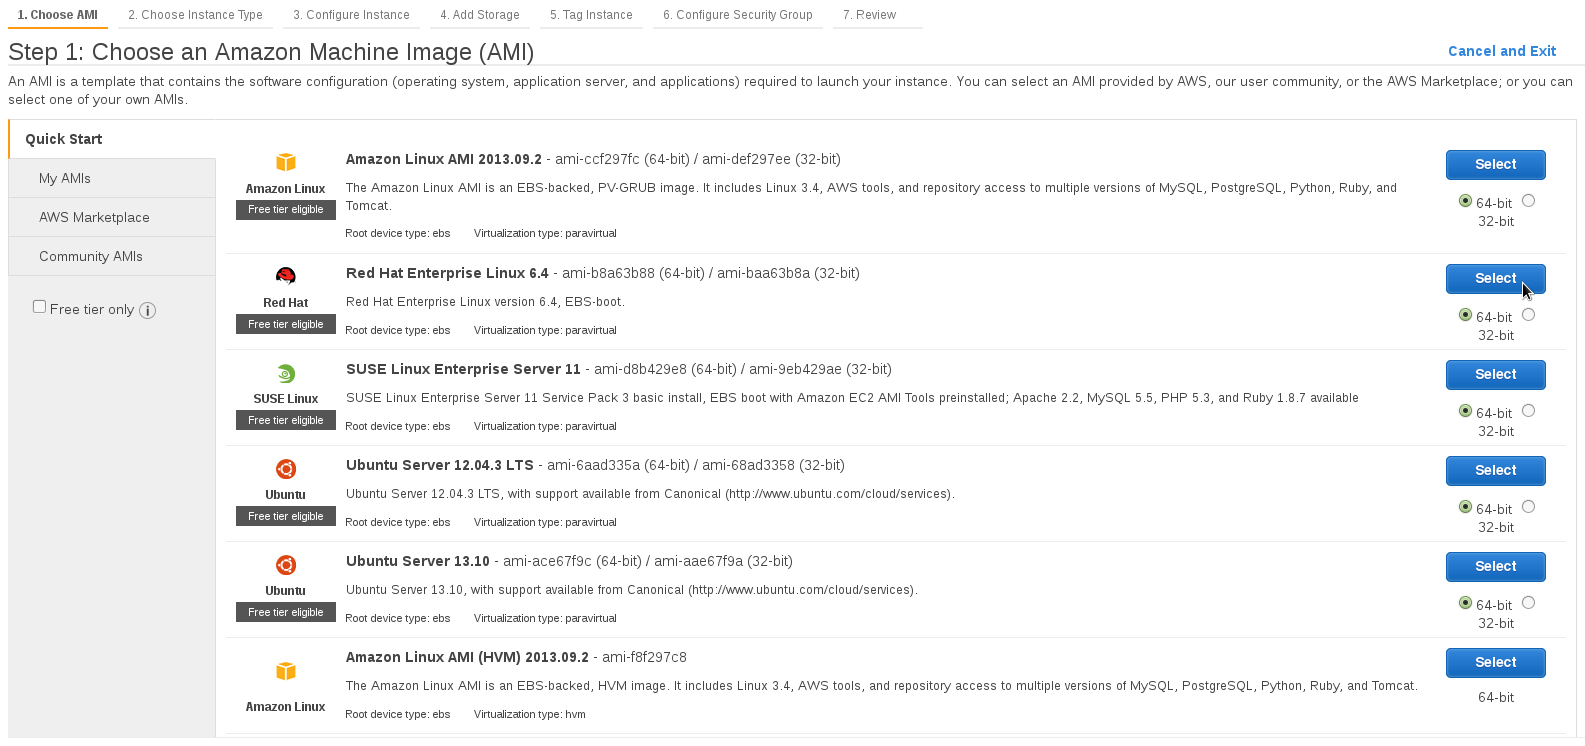
 13. Select the Image you want to create,
14. Choose the Free instance type, t1.micro,

15. No detail changes should be necessary. Notice a dynamic public IP will be assigned,
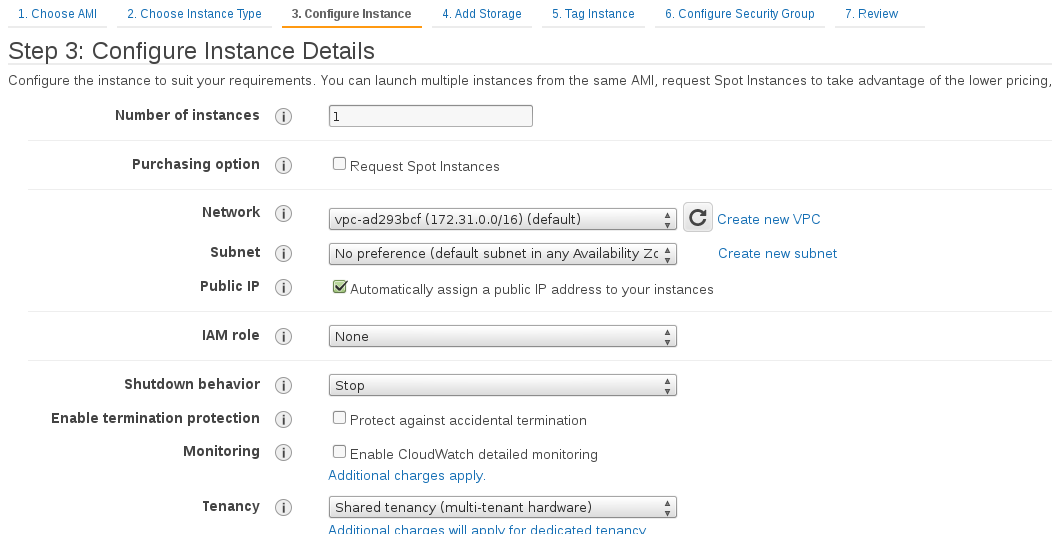
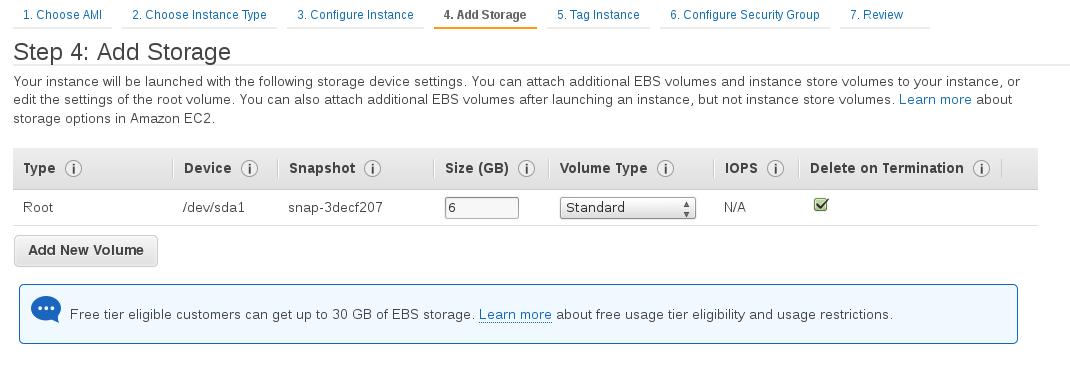
16. No additional storage is needed for your lab machine,
 17. Tag instance could be added but not needed,

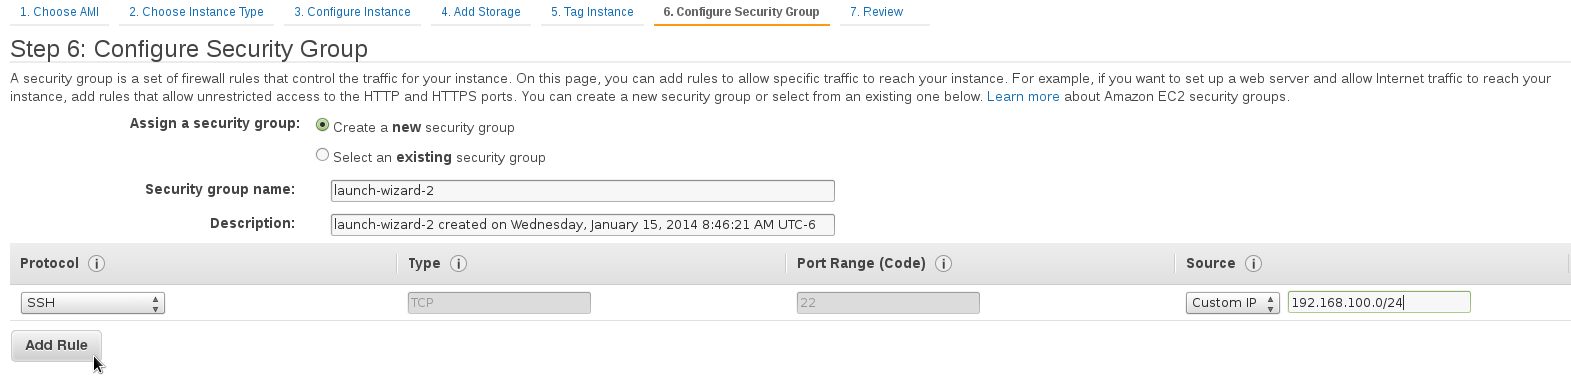
18. IMPORTANT : Make sure you select “My IP” as the only machine that can access your new virtual server so it will not be open to the public Internet. If your home ip changes, you may need to change this every so often from within the console or you could add a range of addresses, like a /24. For example, if your ip address was 192.168.100.50, you could add 192.168.100.0/24.
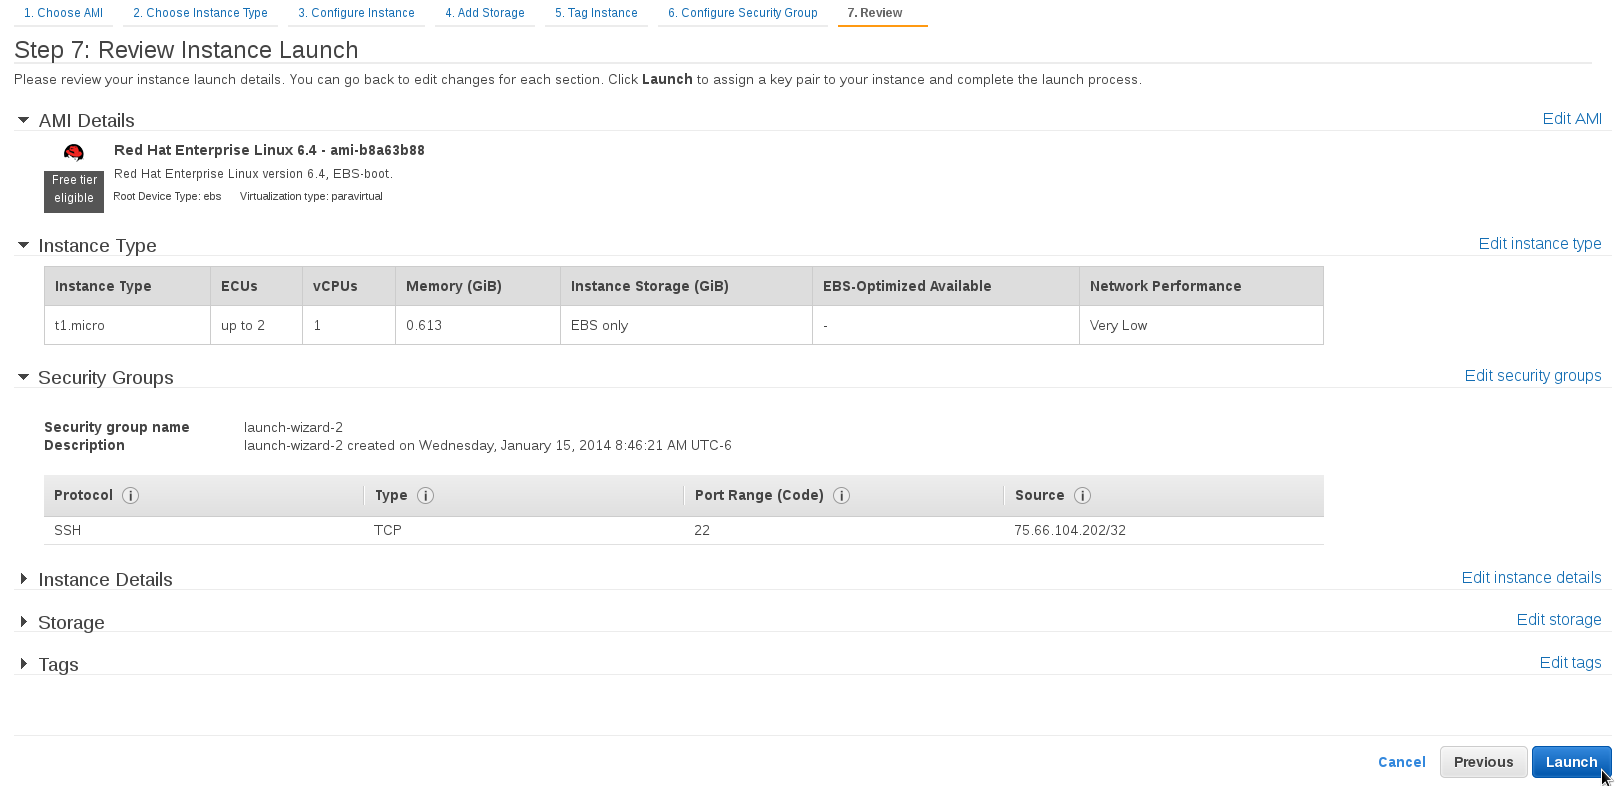
19. Review and click “Launch“,
20. A Pop-up window will ask you to create a new Key pair. Give it a name and download the file.

21. Once it has completed, click “View Instances”
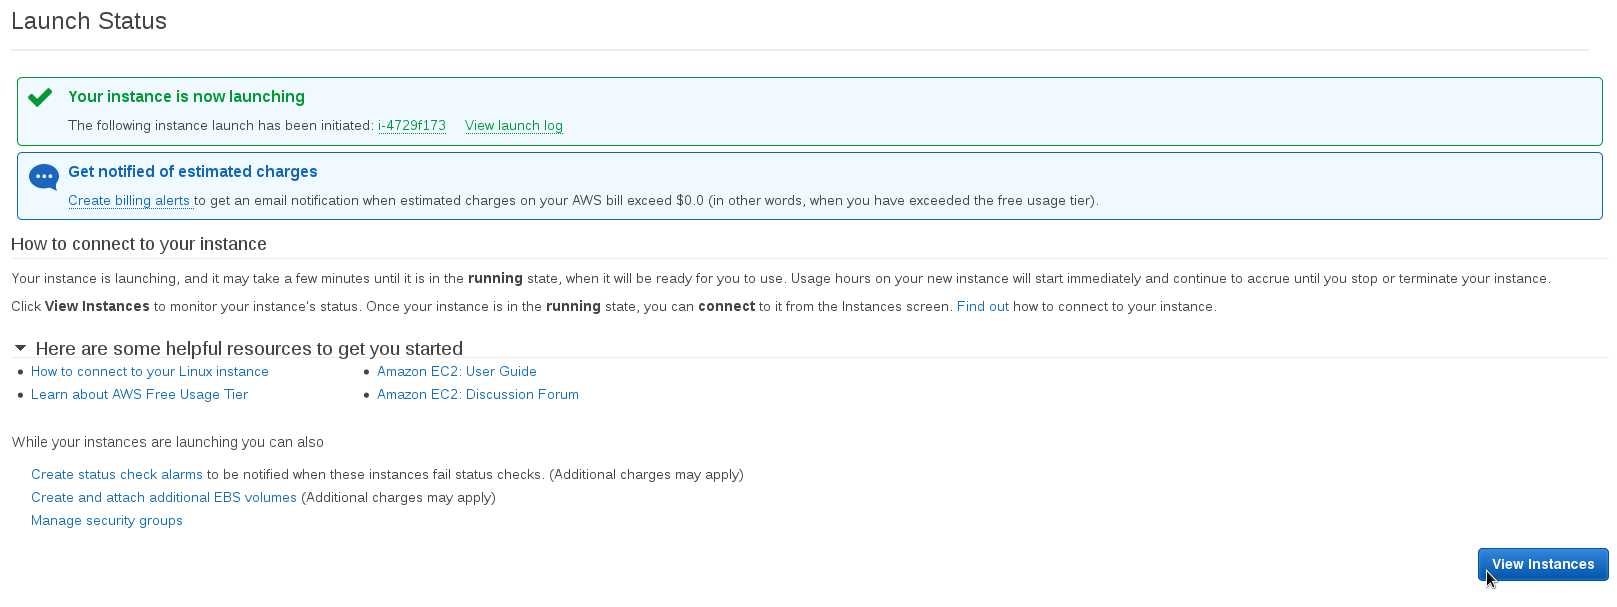
22. Select the instance and click “Connect”
![]()
23. From the Pop-up window you will see the instructions on how to ssh into the server
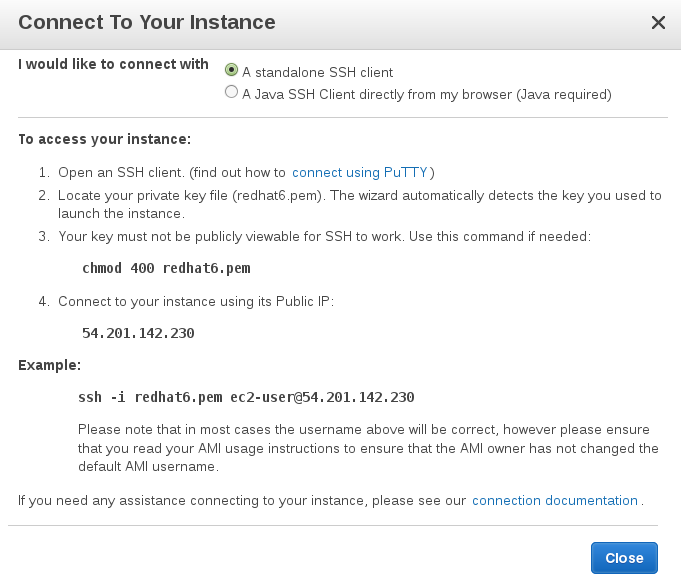 24. Notice in this case, the ip address is shown as 54.201.142.230. This will change each time you stop/start the instance. Locate the .pem file, set the correct permissions and ssh into the server using the default ec2-user account,
[root@localhost ~]$ ls -l redhat6.pem
-rw-rw-r--. 1 root root 1696 Jan 15 08:48 redhat6.pem

[root@localhost ~]$ chmod 400 redhat6.pem

[root@localhost ~]$ ls -l redhat6.pem
-r--------. 1 root root 1696 Jan 15 08:48 redhat6.pem

[root@localhost ~]$ ssh -i redhat6.pem ec2-user@54.201.142.230

The authenticity of host '54.201.142.230 (54.201.142.230)' can't be established.
RSA key fingerprint is 45:c2:96:dc:c5:e6:37:cf:5f:b4:c6:e2:27:51:44:9b.
Are you sure you want to continue connecting (yes/no)? yes
Warning: Permanently added '54.201.142.230' (RSA) to the list of known hosts.

[ec2-user@ip-172-31-1-100 ~]$
25. By default the root password is not setup and the ec2-user has full permissions through the sudoers file. If you would like to set the password for the root account, follow these commands,
[ec2-user@ip-172-31-1-100 ~]$ sudo su root
[root@ip-172-31-1-100 ec2-user]# passwd
Changing password for user root.
New password:
Retype new password:
passwd: all authentication tokens updated successfully.
[root@ip-172-31-1-100 ec2-user]# exit
exit
[ec2-user@ip-172-31-1-100 ~]$ su -
Password:

[root@ip-172-31-1-100 ~]#
Now you have full access to an AWS Cloud Server running RHEL 6.4
[root@ip-172-31-1-100 ~]# cat /etc/redhat-release
Red Hat Enterprise Linux Server release 6.4 (Santiago)

Reblogged this on Sutoprise Avenue, A SutoCom Source.
LikeLike